
Prerequisites
Before you begin the installation process for MediDash, please ensure that your system meets the following prerequisites. These tools are essential for the template to function correctly.
-
desktop_windows
Node.js and NPM
Node.js is a JavaScript runtime that allows you to run JavaScript on the server-side. NPM (Node Package Manager) is bundled with Node.js and is used to manage project dependencies. Download and install Node.js (version 18.19.1+ or 20.11.1+ (LTS)) from the official website: nodejs.org.
-
code
Angular CLI
The Angular CLI (Command Line Interface) is a powerful tool for initializing, developing, scaffolding, and maintaining Angular applications. Install it globally on your system by running the following command in your terminal:
npm install -g @angular/cli
-
folder
Template Selection
MediDash comes with two template variations:
main(the full-featured version) andstarter(a barebones version for custom projects). Choose the one that best fits your needs. -
get_app
Code Editor
We recommend using a modern code editor for the best development experience. Popular choices include Visual Studio Code, WebStorm, or Atom.
Installation Guide
Follow this step-by-step guide to get MediDash installed and running on your local machine. The process is straightforward and should only take a few minutes.
Download and Extract the Template
Begin by downloading the MediDash package from the marketplace where you purchased it. Once downloaded, extract the contents of the ZIP file to a location of your choice on your computer.
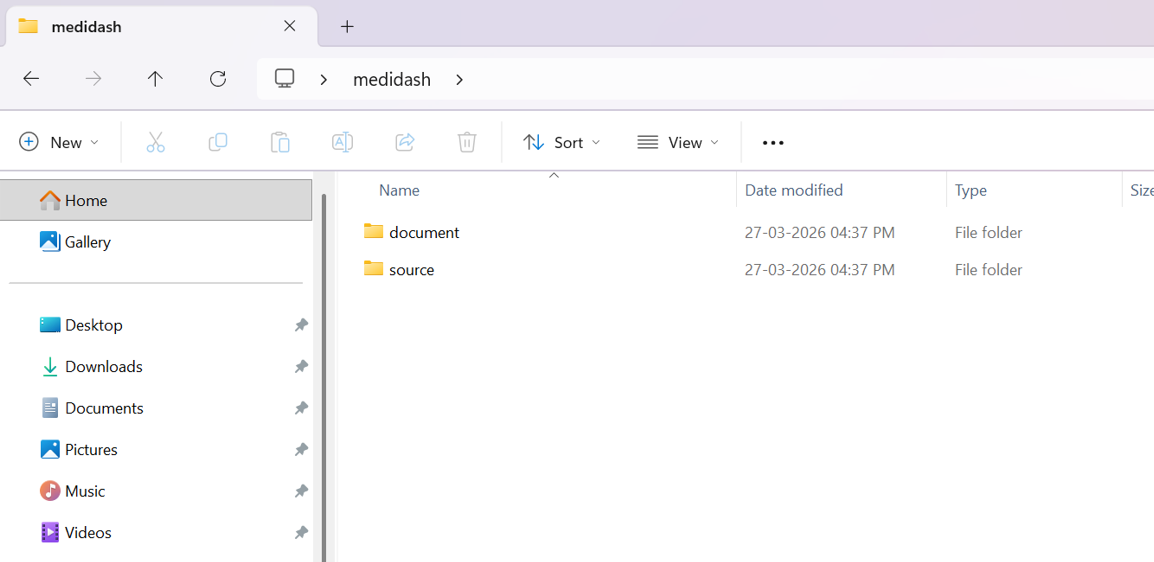
Navigate to the Project Directory
Open your terminal or command prompt. Use the cd command to
navigate into the directory where you extracted the template. You should
navigate into the source folder.
cd path/to/your/template/directory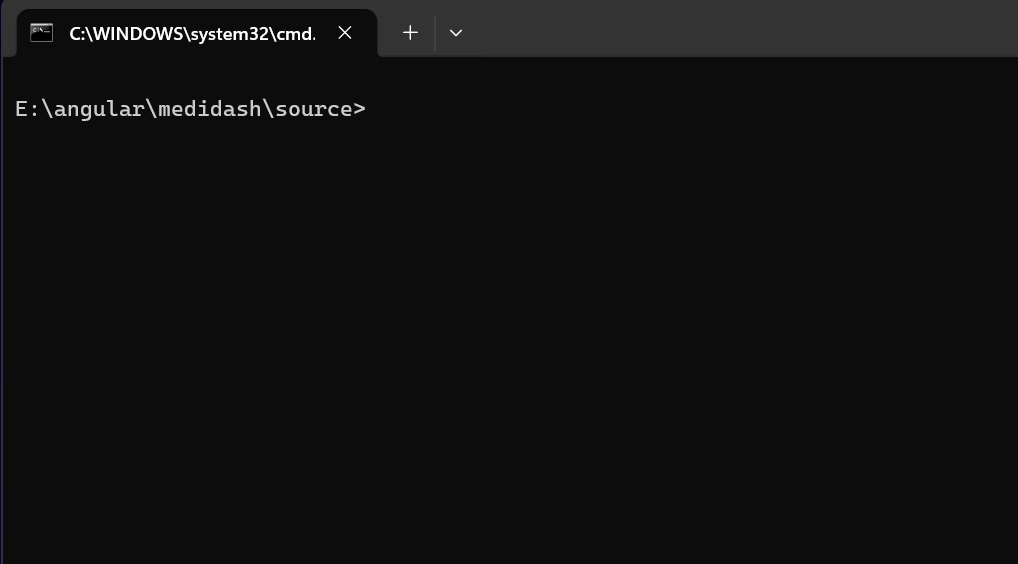
Install Project Dependencies
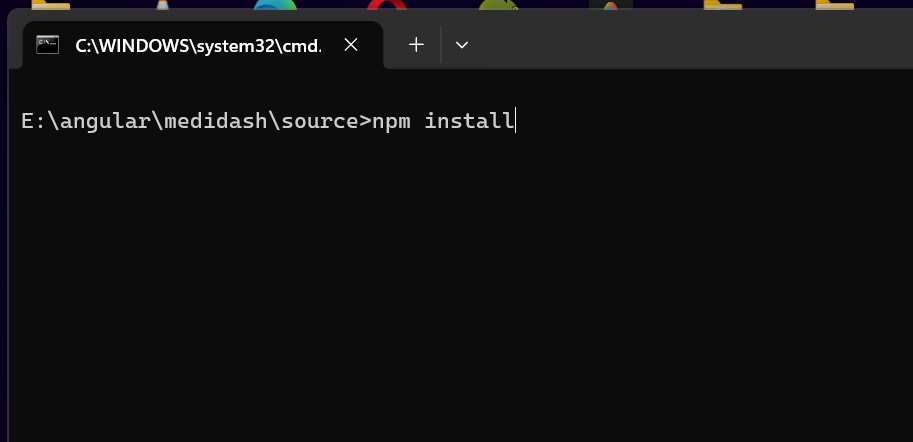
Once you are inside the project directory, you need to install all the
required dependencies listed in the package.json file. Run
the following command:
npm installThis command will download and install all the necessary libraries and packages for the project to run.
Run the Development Server
After the dependencies are installed, you can start the local development server. This will compile the application and serve it on a local port. Run the following command:
ng serve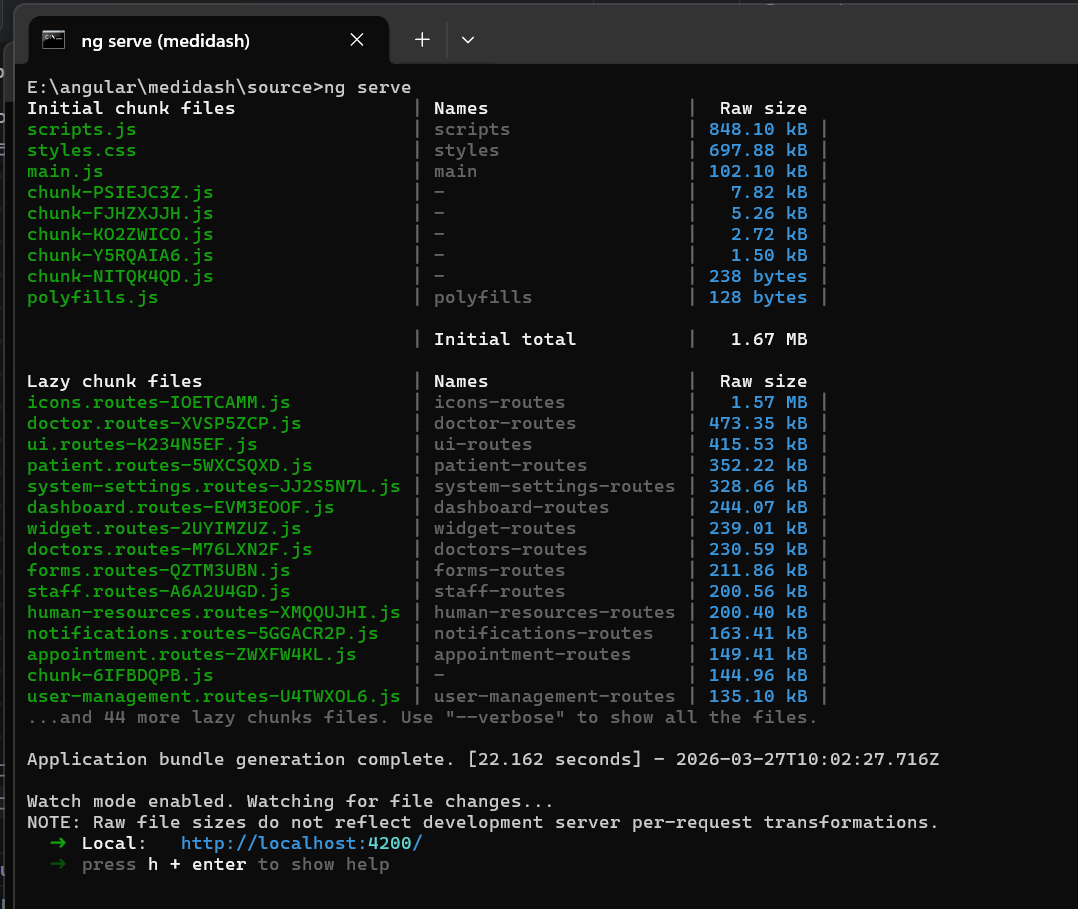
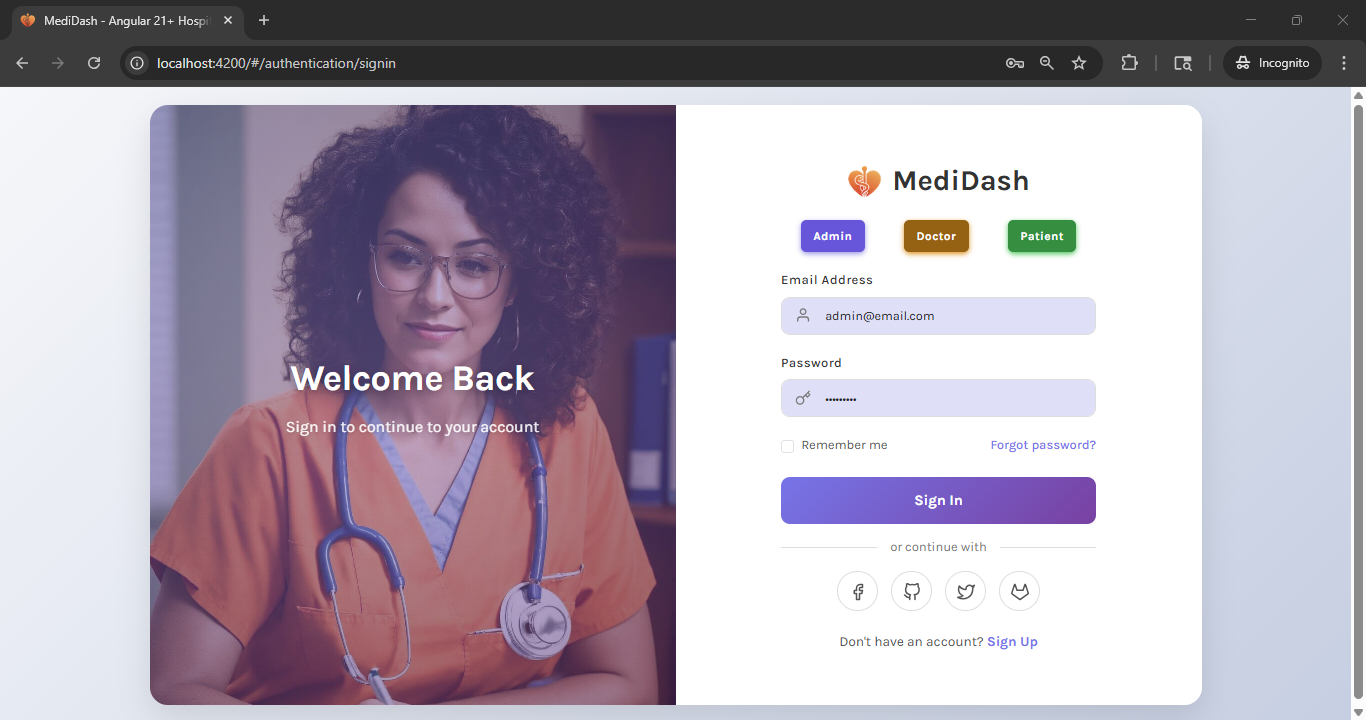
Once the server is running, you can open your web browser and navigate to http://localhost:4200/ to see the MediDash application in action.
Build for Production
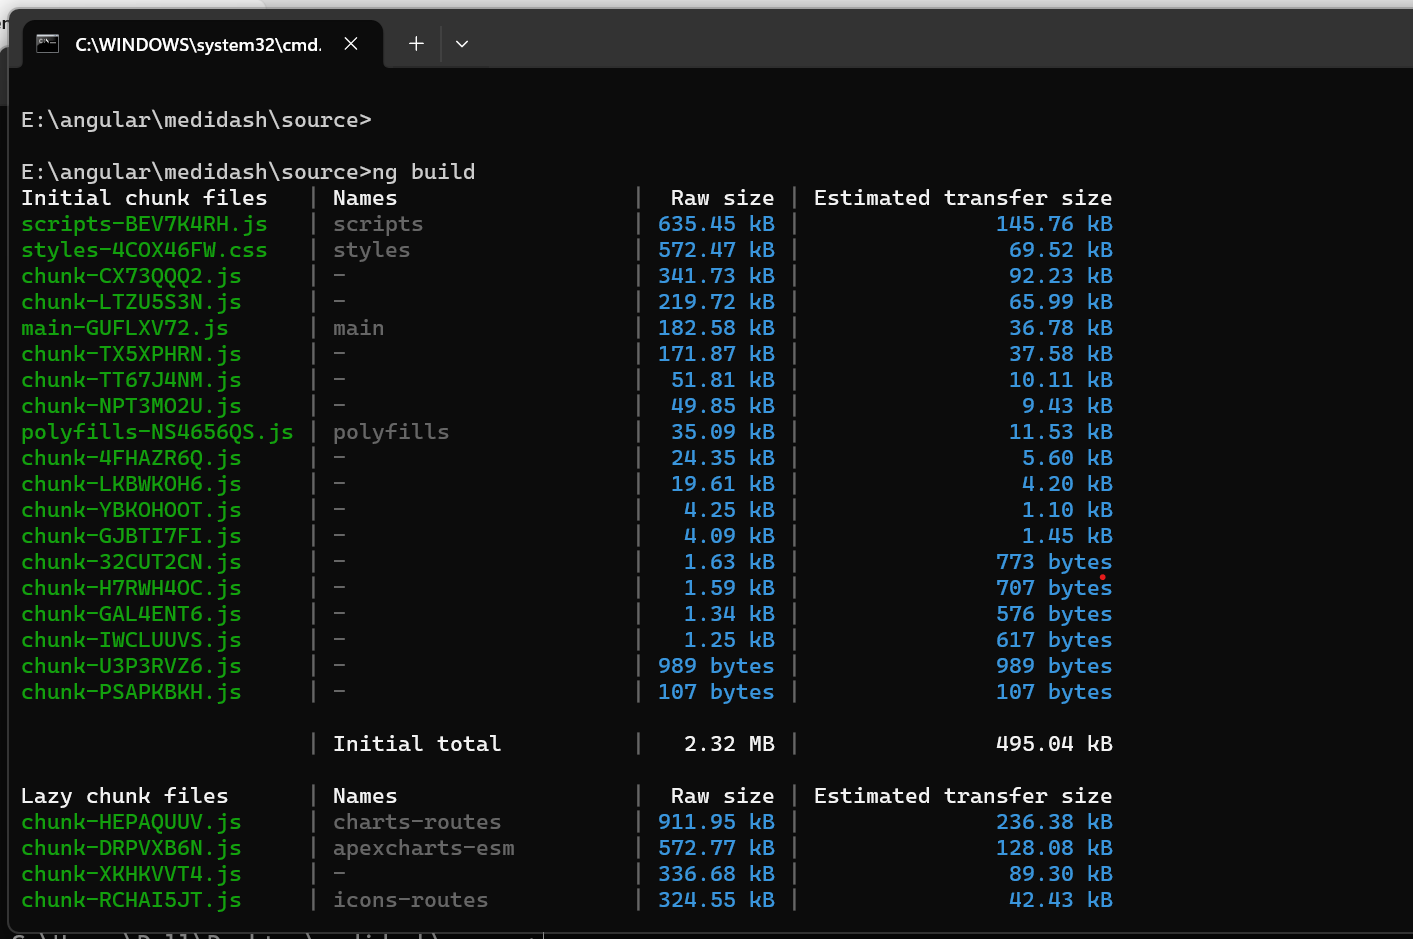
When you are ready to deploy your application to a live server, you need to create a production-ready build. This will optimize the code and assets for performance. Run the following command:
ng buildThis command will generate a dist folder in your project
directory. This folder contains all the static files that you can upload
to your web server.
custom.scss file. This approach ensures
that your custom styles are preserved when you update the template in the
future. You can simply replace the core template files without worrying
about losing your modifications.